
How do I setup
Handheld
Contact MAC?
This article will explain how to setup the new Handheld Contact MAC software.


- Handheld Contact Mac will synchronize using Act! Groups. NOTE: ONLY 1 GROUP CAN BE SELECTED TO SYNC WITH. Therefore, it is best to create this Group in advance. For more information and assistance with Groups, please CLICK HERE.
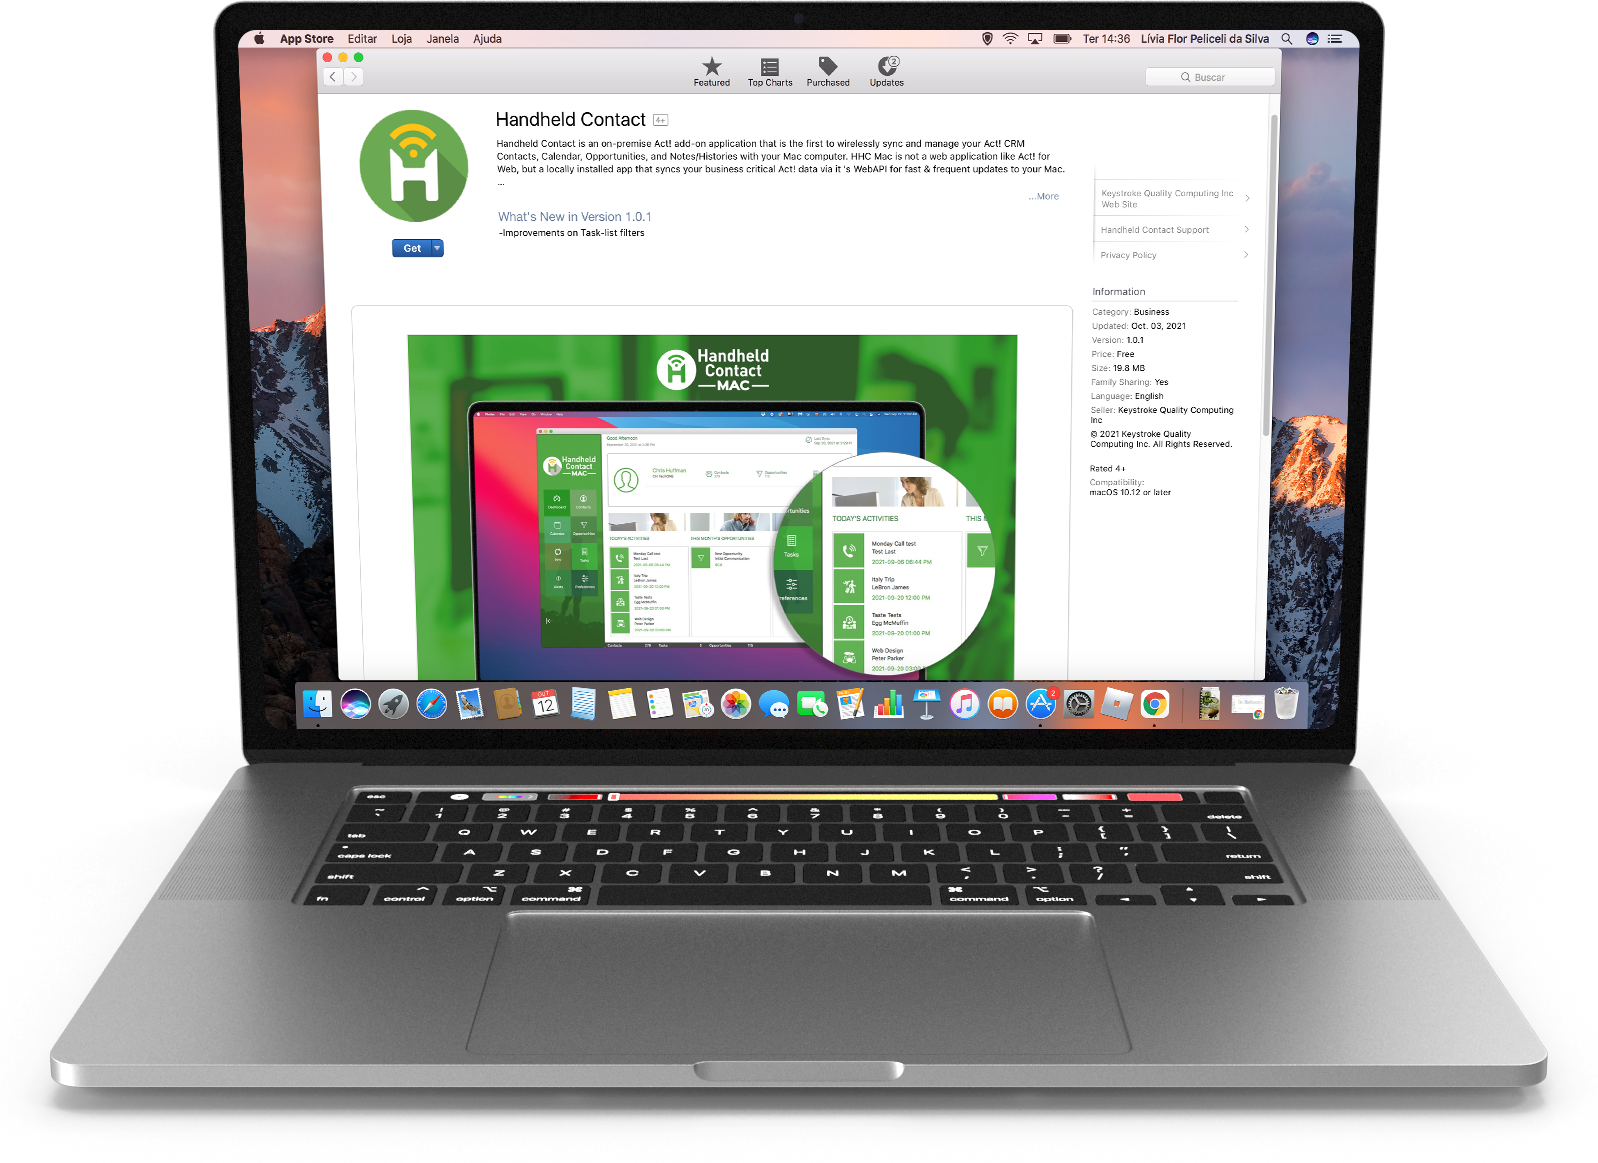
- Open the App Store on the Mac OS and do a search for 'Handheld Contact'. Or click on the 'Download on the App Store' button above.
- Select 'Get' to download the software. Enter your Apple ID credentials if prompted.

- Launch Handheld Contact Mac. Enter the 'Act! server address url'. Note: This address does not match your Act! for Web login URL. It typically will end with 'act.web.api'. If you do not have this address, please contact your Act! hosting provider or CLICK HERE for more information.
- Enter the 'Act! database name' that is used to log into Act!.
- Enter your 'Act! user name' and 'Act! password' (if you have one).
- Press the 'LOGIN' button to continue.

- Enter the 'HHC username (email address)' as well as the 'HHC password'.
- Press 'LOGIN' button to continue.

- A list of custom fields for Contacts will appear. If any customization of contact fields are going to be applied, simply check the box that reads 'Sync' beside the field you want to add to Handheld Contact.
- Press 'Next' to proceed.

- Choose the Act! Group (from Step 1 above) to sync with. If you created the Group in Act! while Handheld Contact Mac was open, press ‘Refresh’ button to find the new Group.
- Press 'Next'.

- If Opportunities are going to be added to the syncing, select the option for which Status you want.
- Press 'Next'.

- A list of custom fields for Opportunities will appear. If any customization of opportunity fields are going to be applied, simply check the box that reads 'Sync' beside the field you want to add to Handheld Contact.
- Press 'Next' to proceed.


