How do I setup
Handheld
Contact API?
This article will explain how to setup the new Handheld Contact API software.

Click on the operating system icon below to show directions for that specific platform


- Handheld Contact API will synchronize using Act! Groups. NOTE: ONLY 1 GROUP CAN BE SELECTED TO SYNC WITH. Therefore, it is best to create this Group in advance. For more information and assistance with Groups, please CLICK HERE.
- Open Chrome on the Android device and visit: www.handheldcontact.com/api If this URL does not work, you can open Google Play directly and search for ‘Handheld Contact API’ to install.
- The Google Play Store will automatically launch. Select ‘Install’ button to download the software. Enter your Google Play iD credentials if prompted.
- Launch Handheld Contact API. Upon first launch, you will be asked by Android to allow permissions. Choose ‘Allow’ for all pop-up screens.
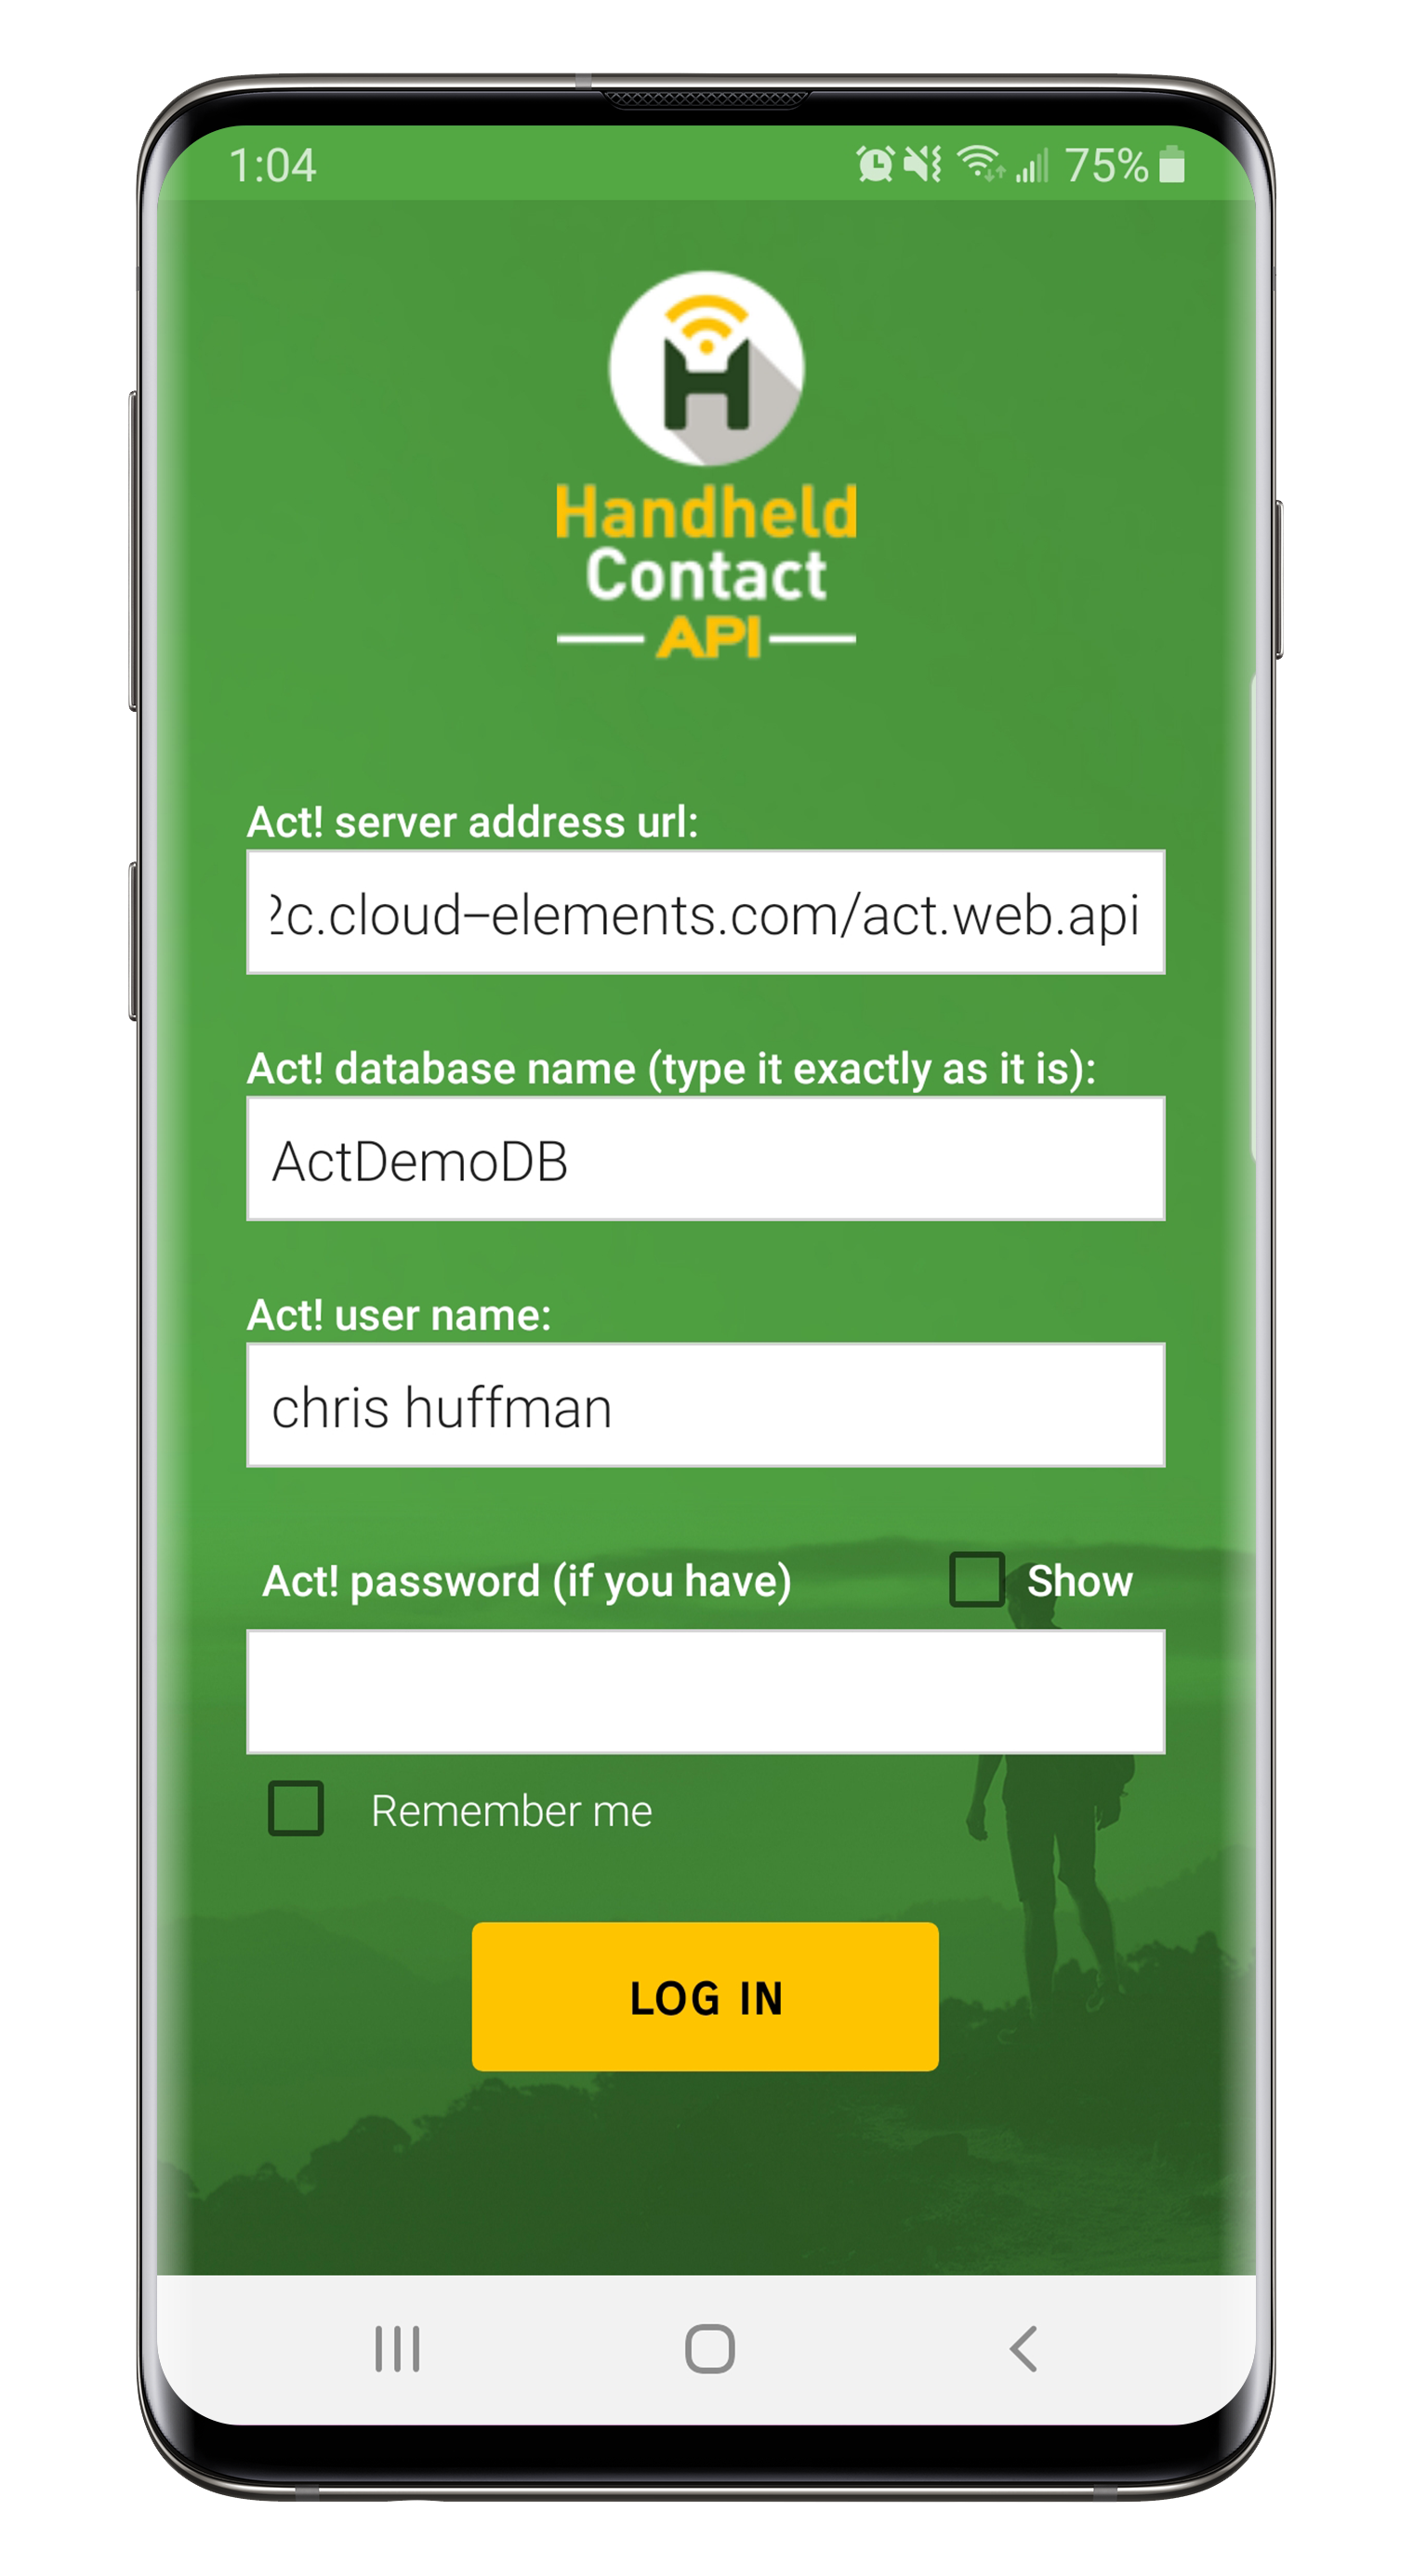
- Enter the 'Act! server address url'. Note: This address does not match your Act! for Web login URL. It typically will end with 'act.web.api'. If you do not have this address, please contact your Act! hosting provider or CLICK HERE for more information.
- Enter the 'Act! database name' that is used to log into Act!.
- Enter your 'Act! username' and 'Act! password' (if you have one).
- Press the 'LOGIN' button to continue.
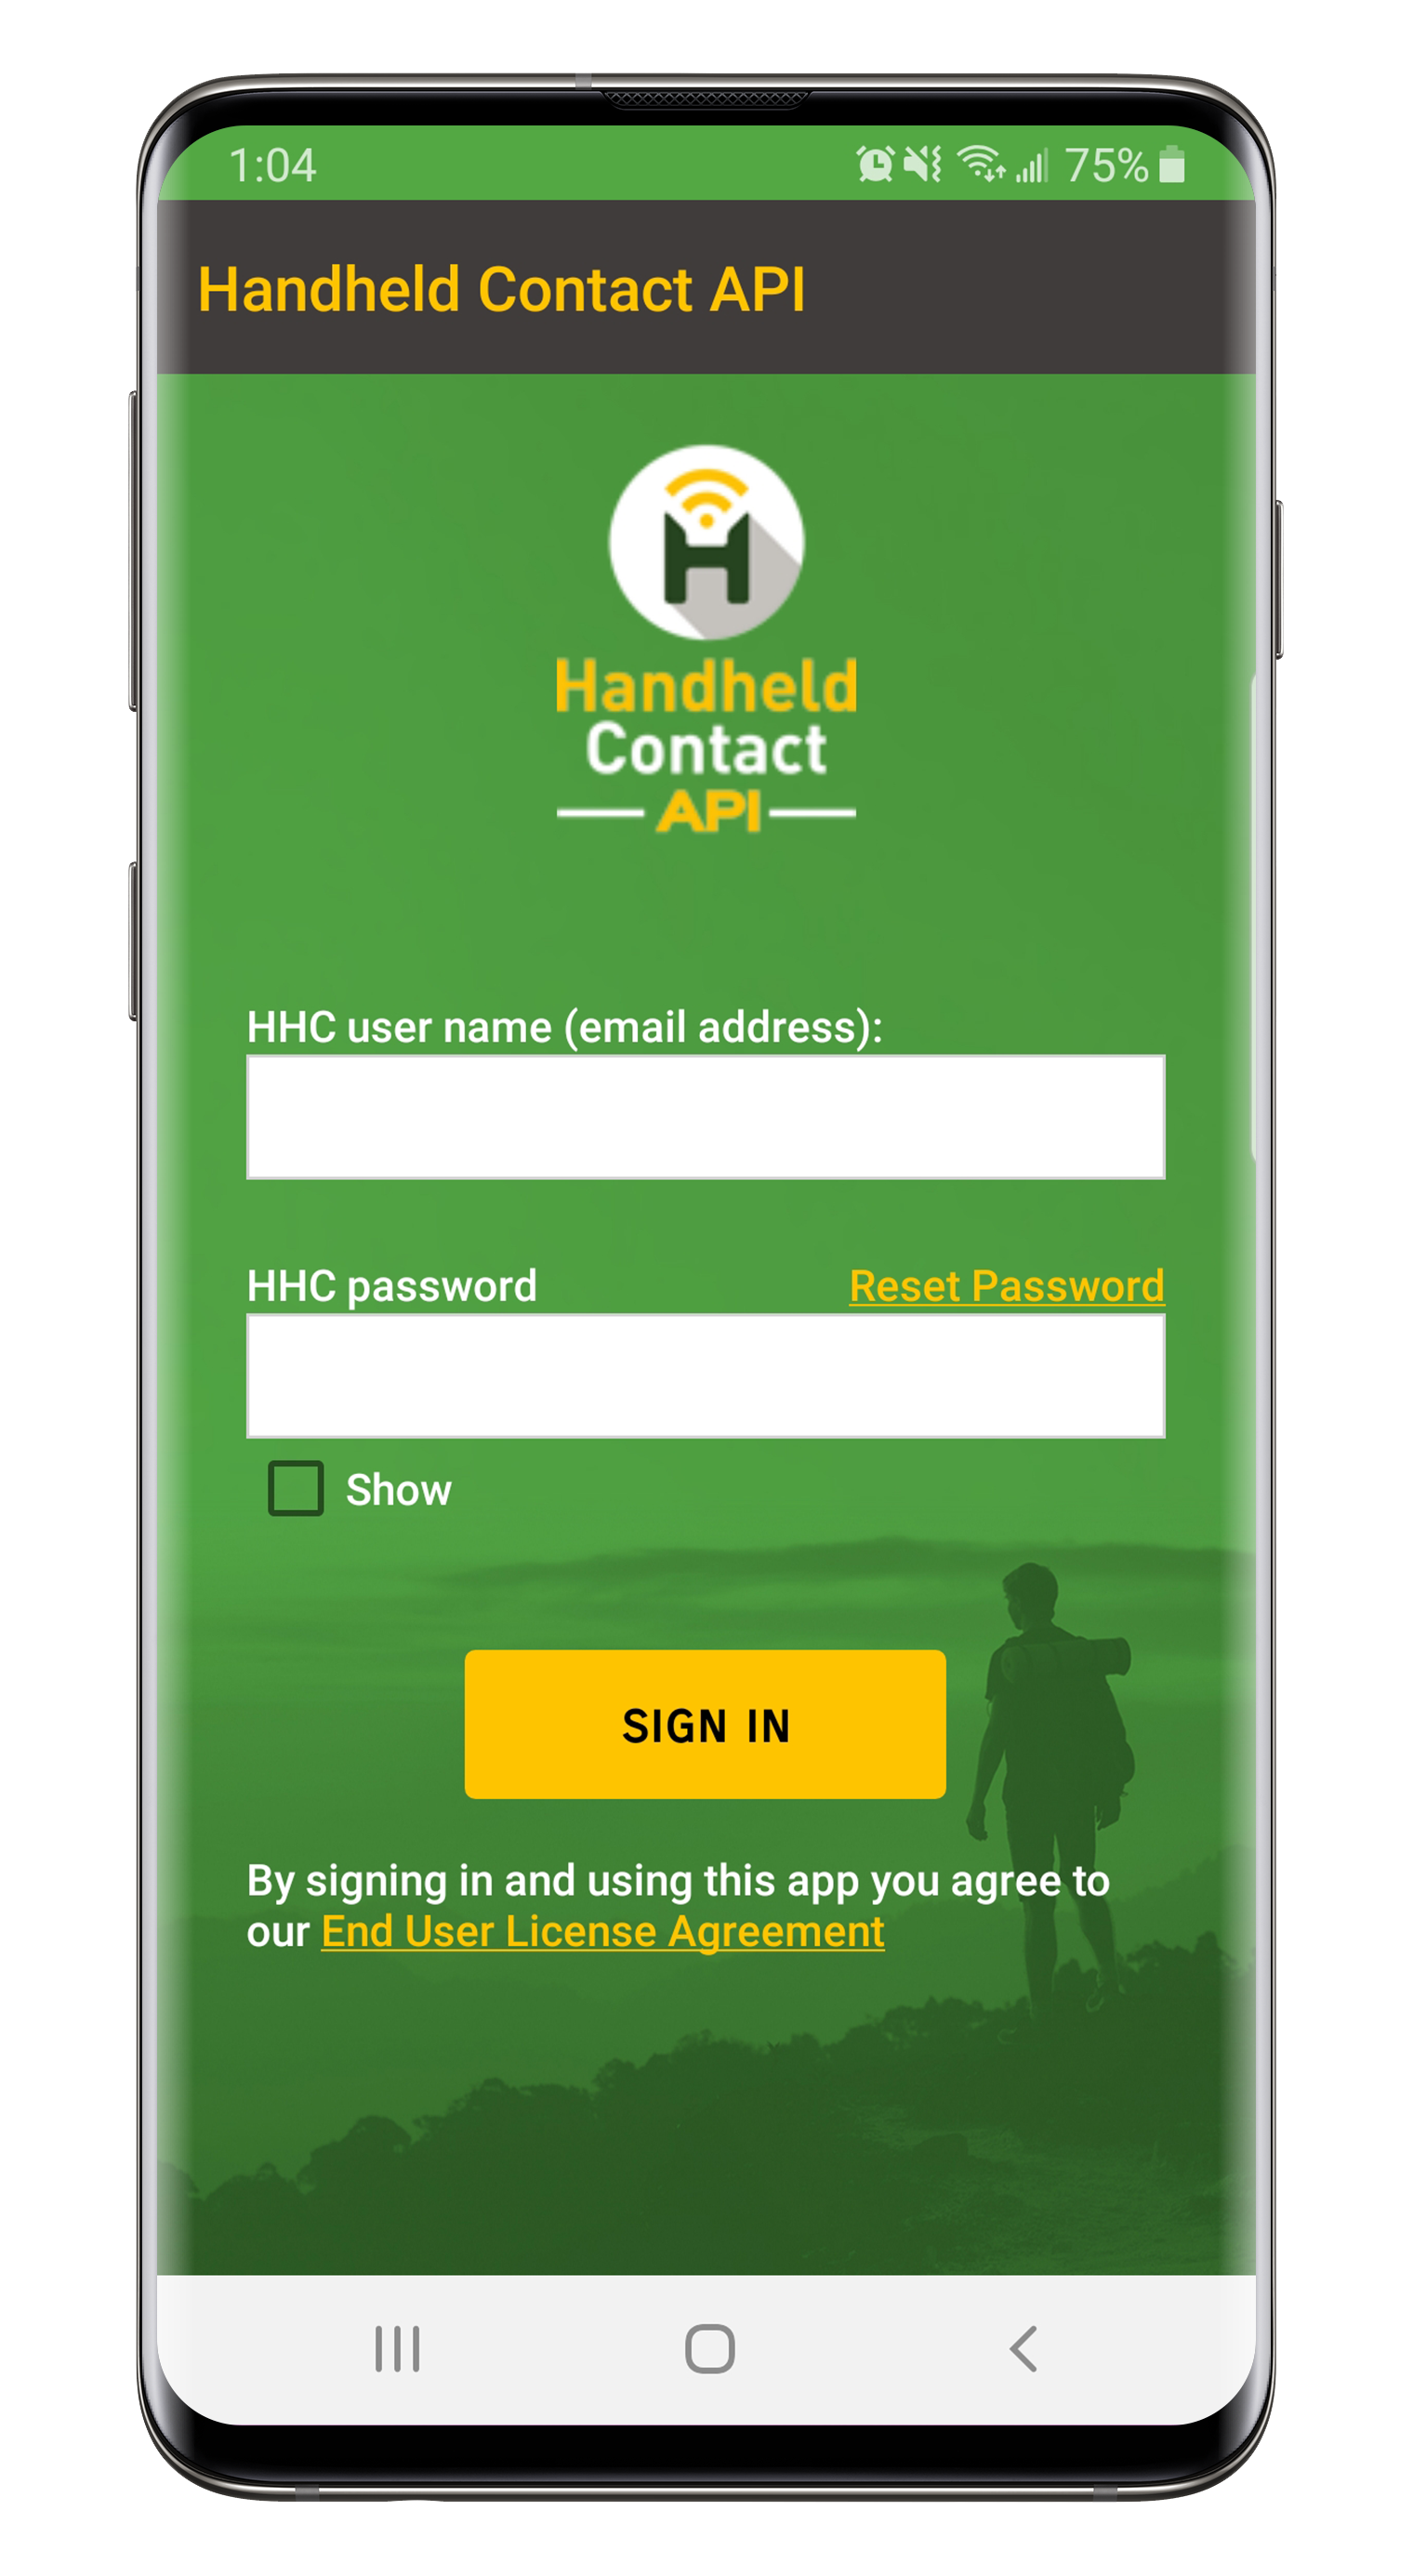
- Enter the 'HHC username (email address)' as well as the 'HHC password'.
- Press 'SIGN IN' button to continue.
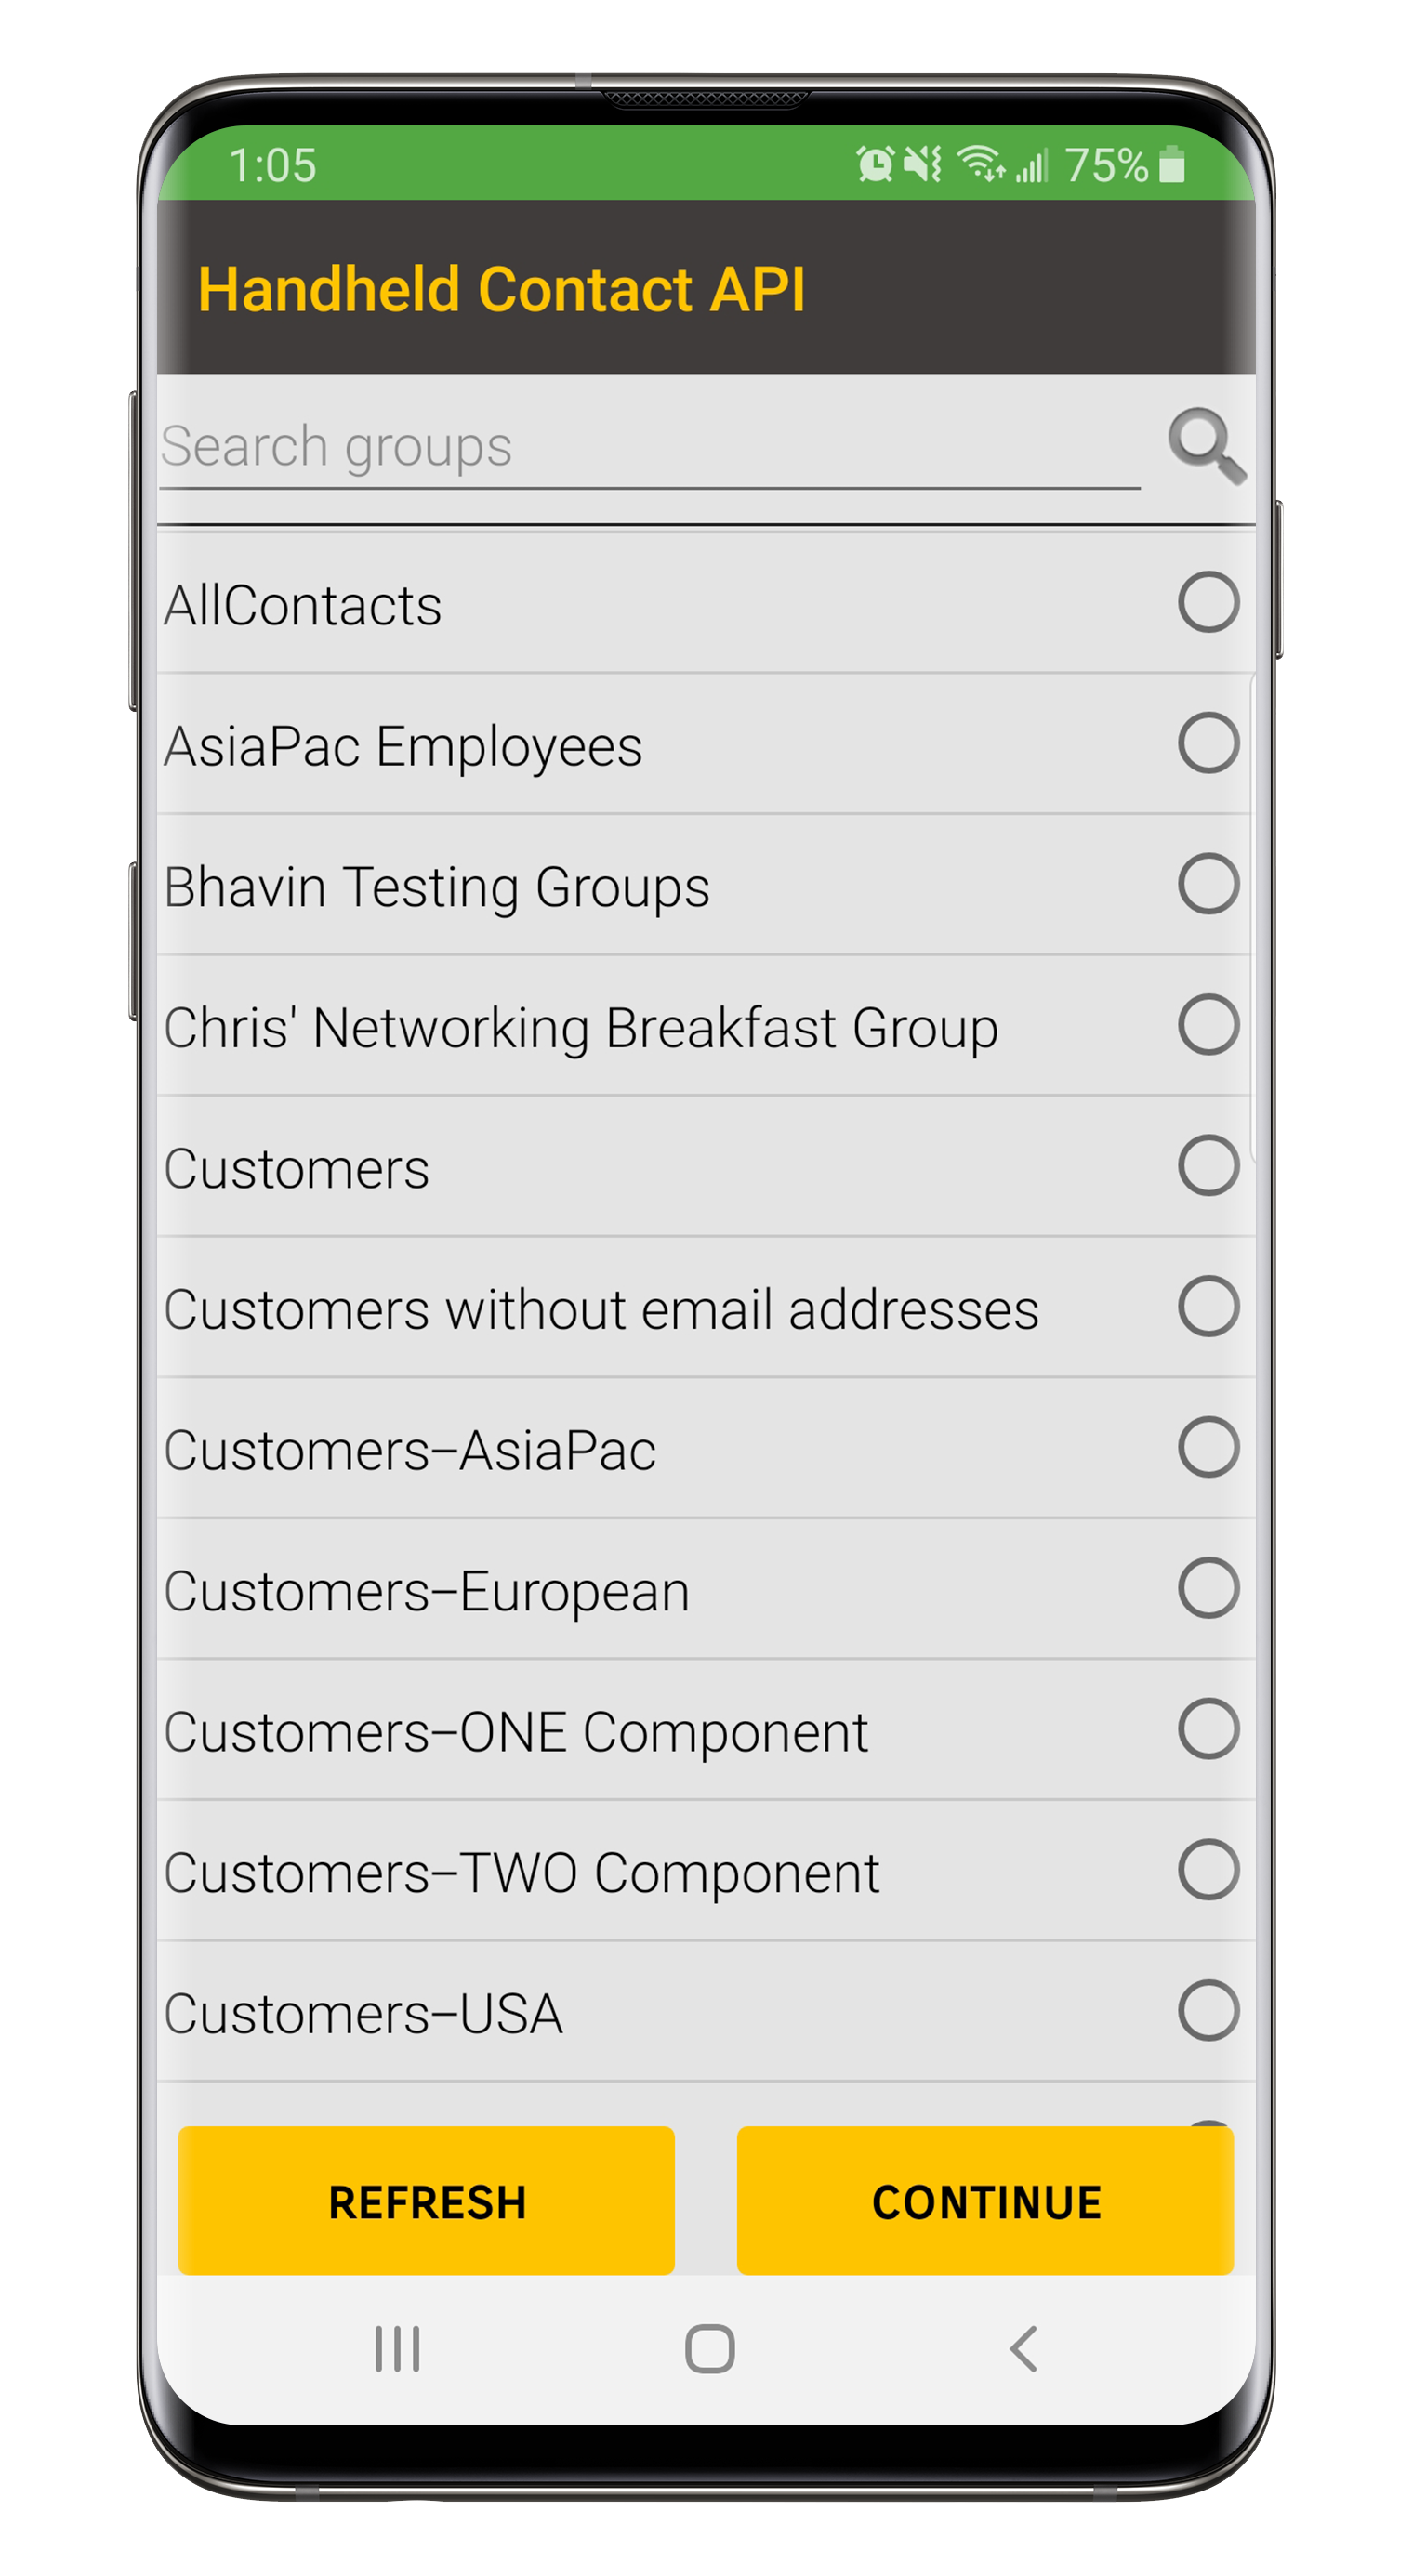
- Choose the Group to sync with. If you created the Group while Handheld Contact was open, press ‘REFRESH’ button to find the new Group.
- Press ‘CONTINUE’.
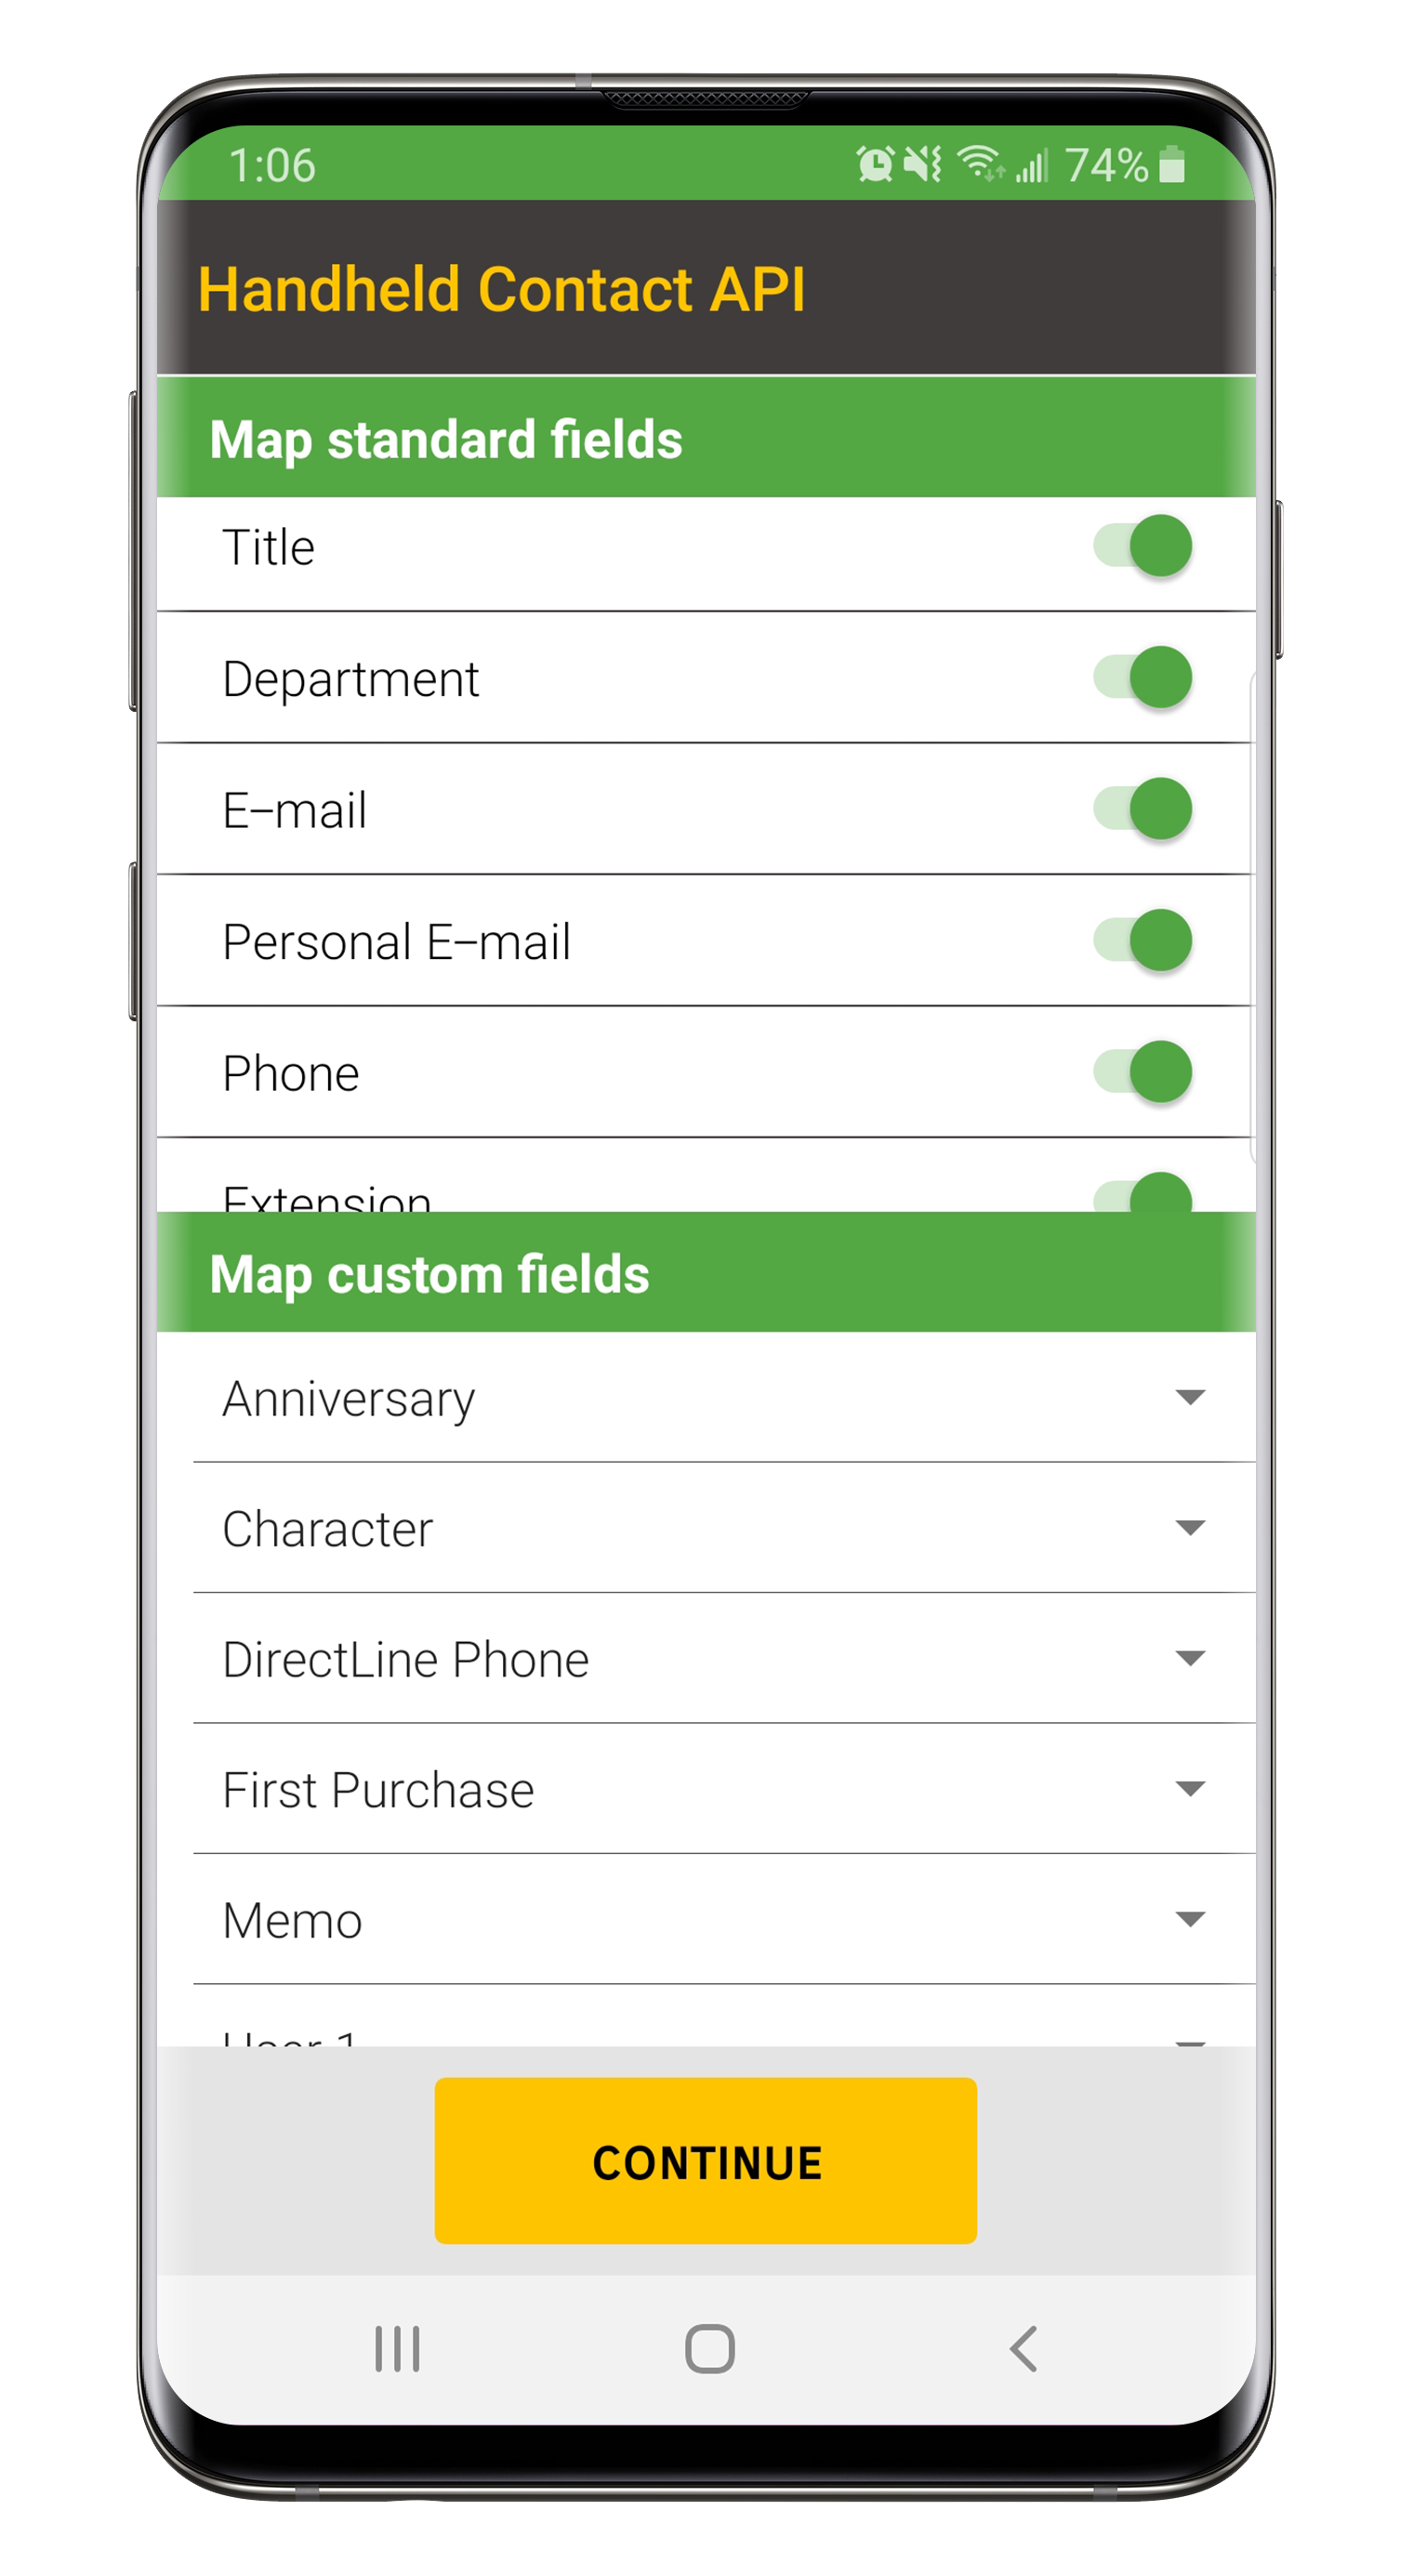
- A list of standard mapped fields will appear. If any additional custom fields are to be synced, move to the ‘Map custom fields’ section. Tap on ‘Do not map’ dropdown and select the required field. Repeat until all fields needed are mapped.
- Press ‘CONTINUE’.
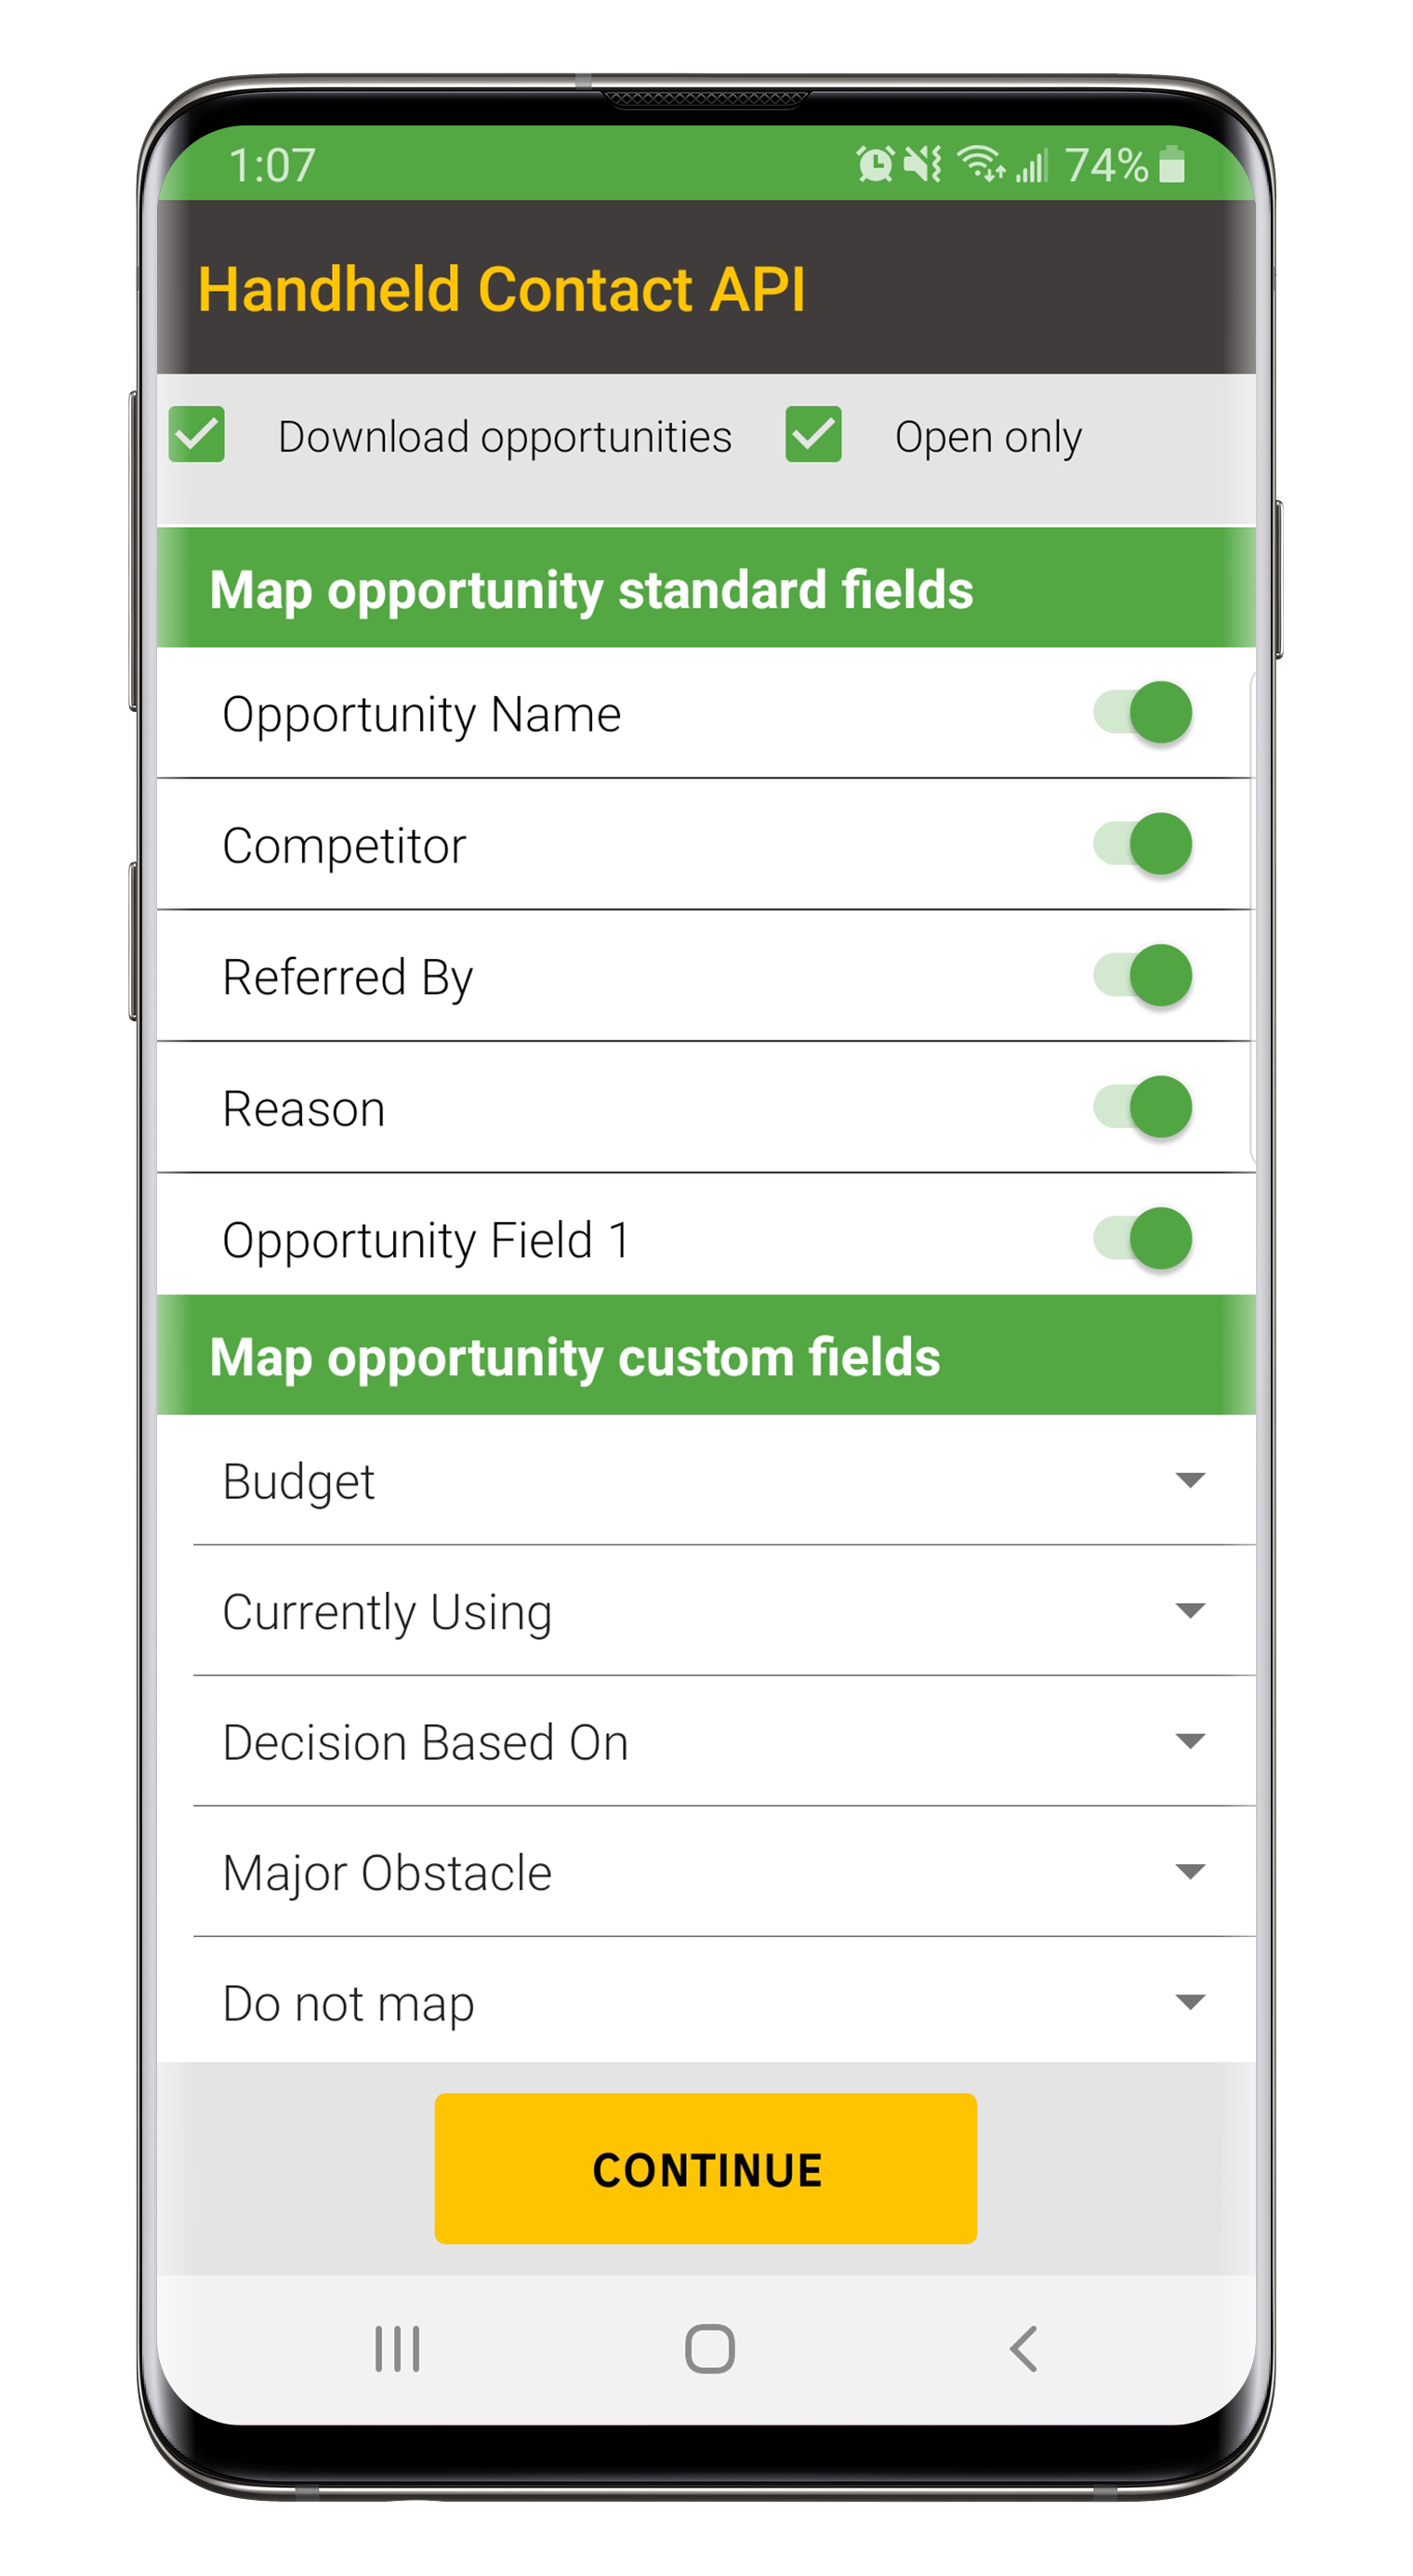
- To enable Opportunities, toggle the top box ON. Note: Handheld Contact API will download only Open Opportunities by default. To get all status types, toggle 'Open Only' OFF.
- If adding any custom opportunity fields, tap on ‘Do not map’ dropdown and select the required field.
- Press ‘CONTINUE’.
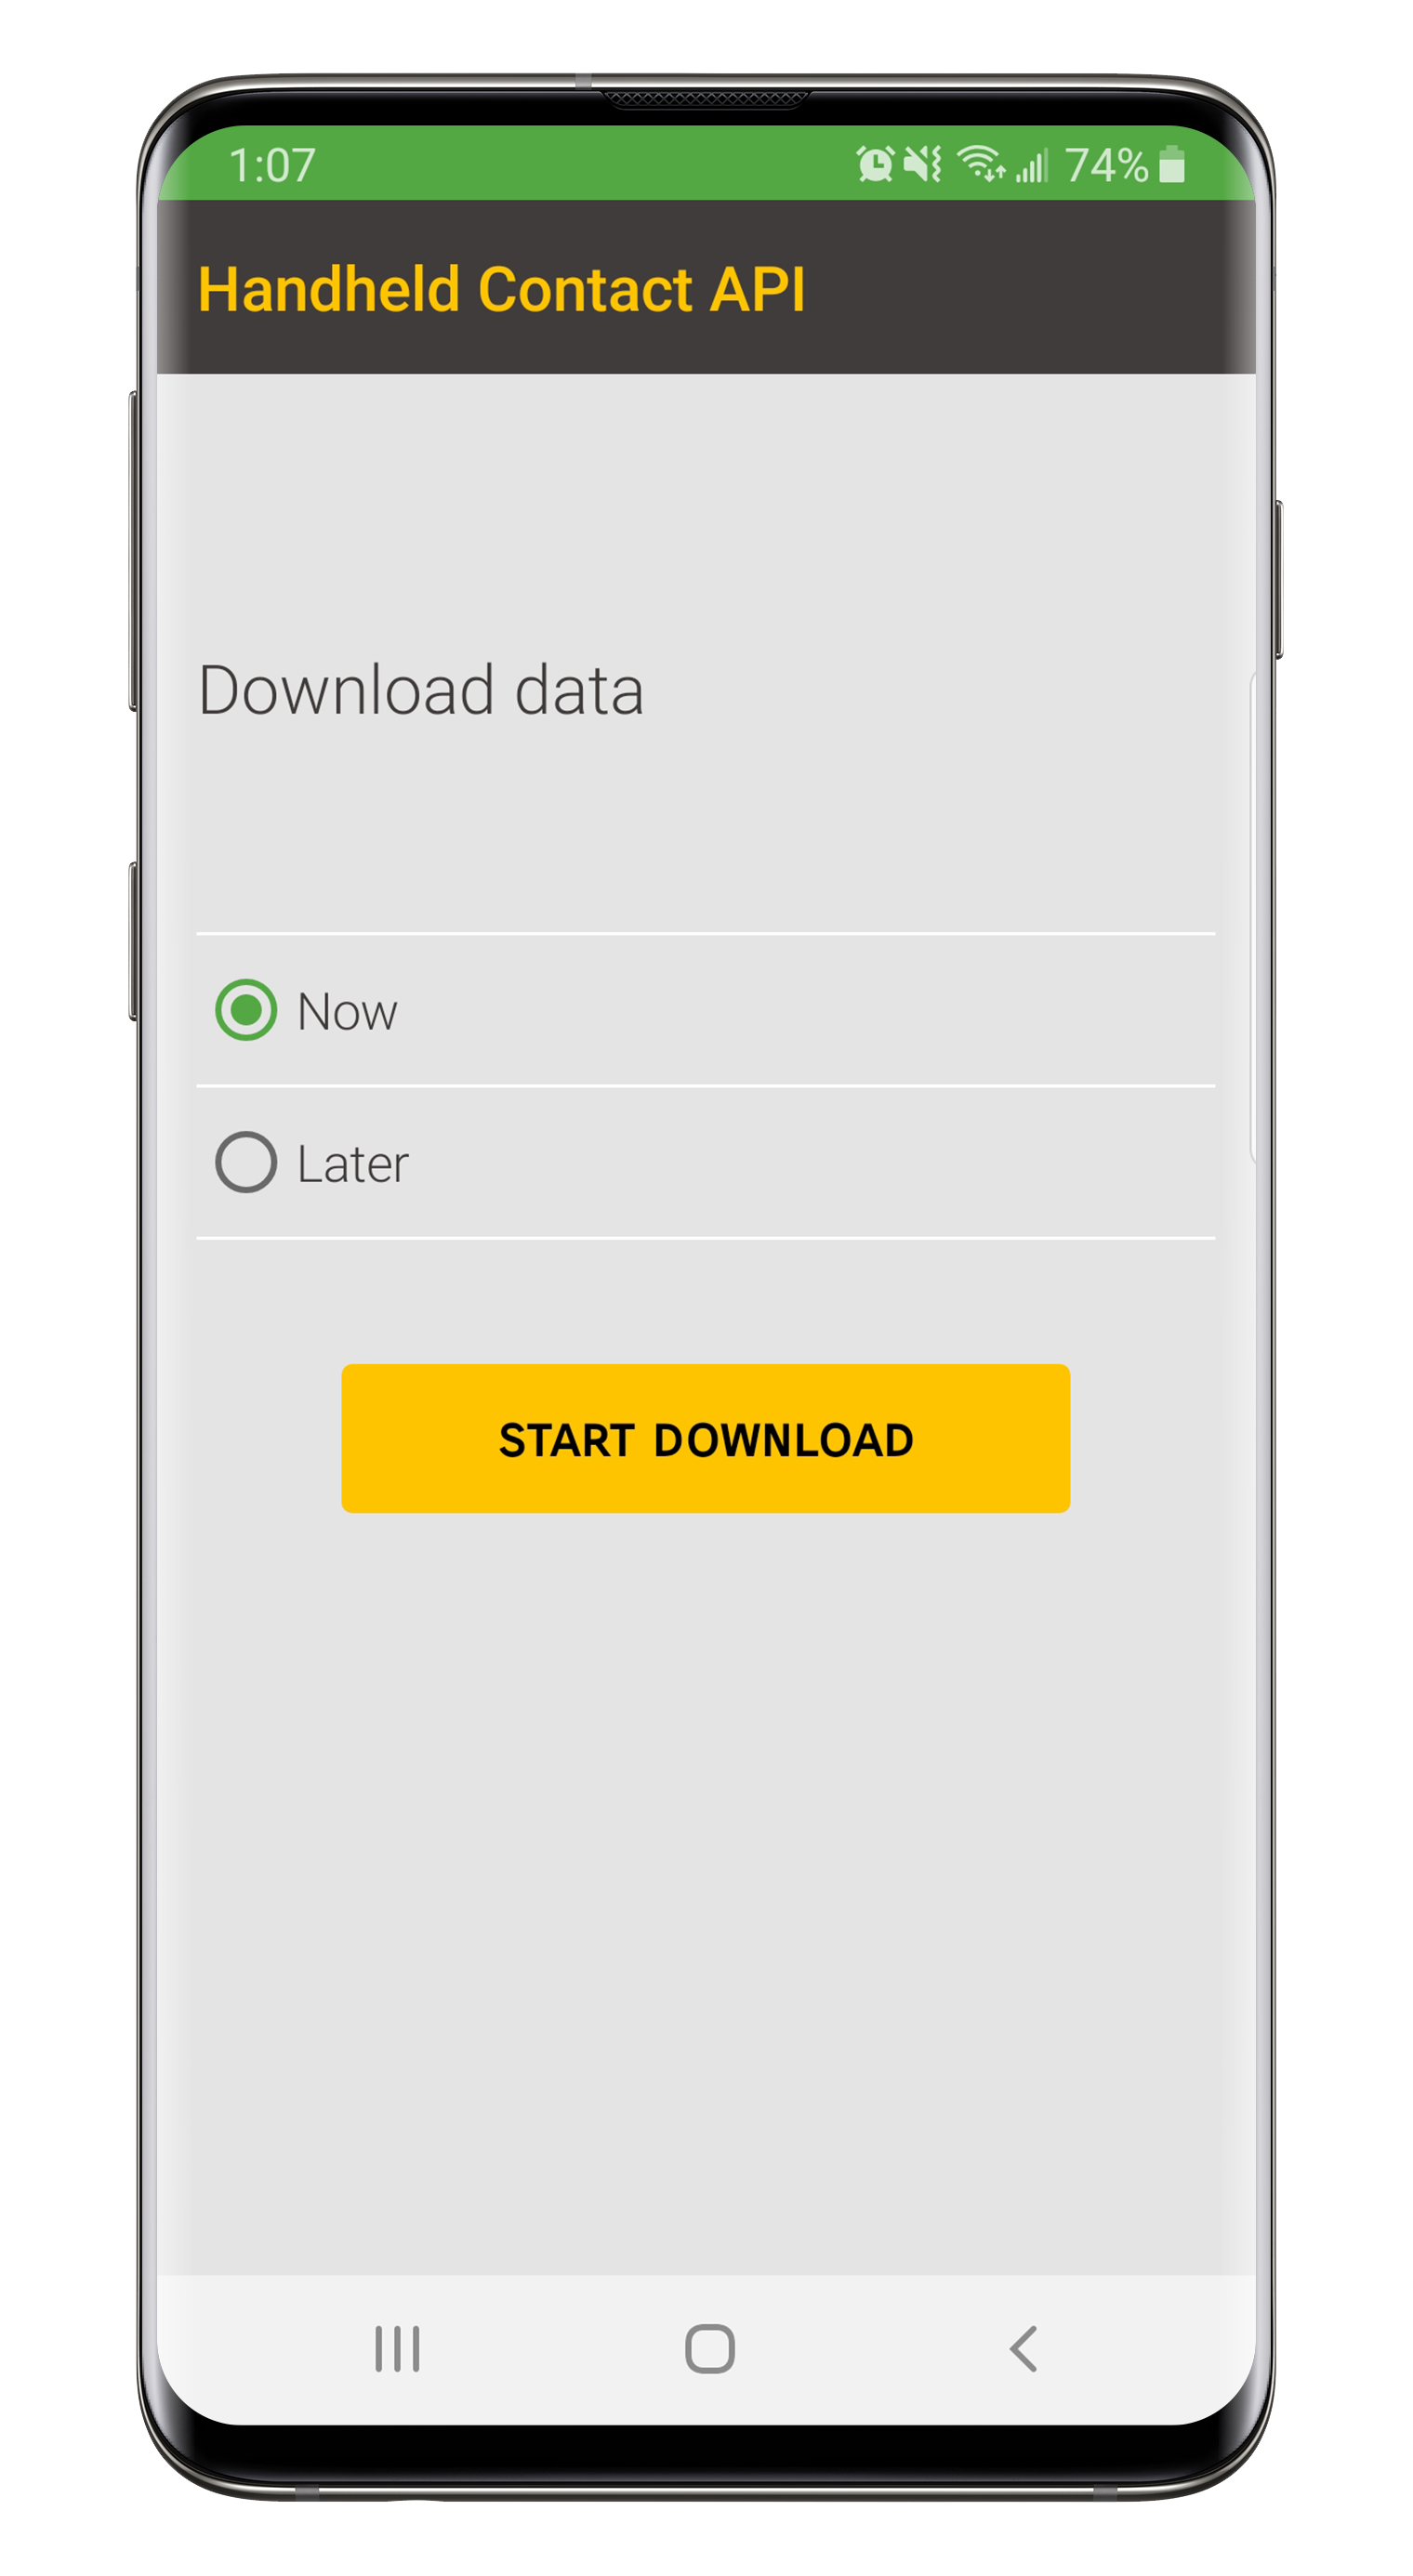
- Begin the initial download by selecting ‘Now’ button and pressing the 'START DOWNLOAD' button.
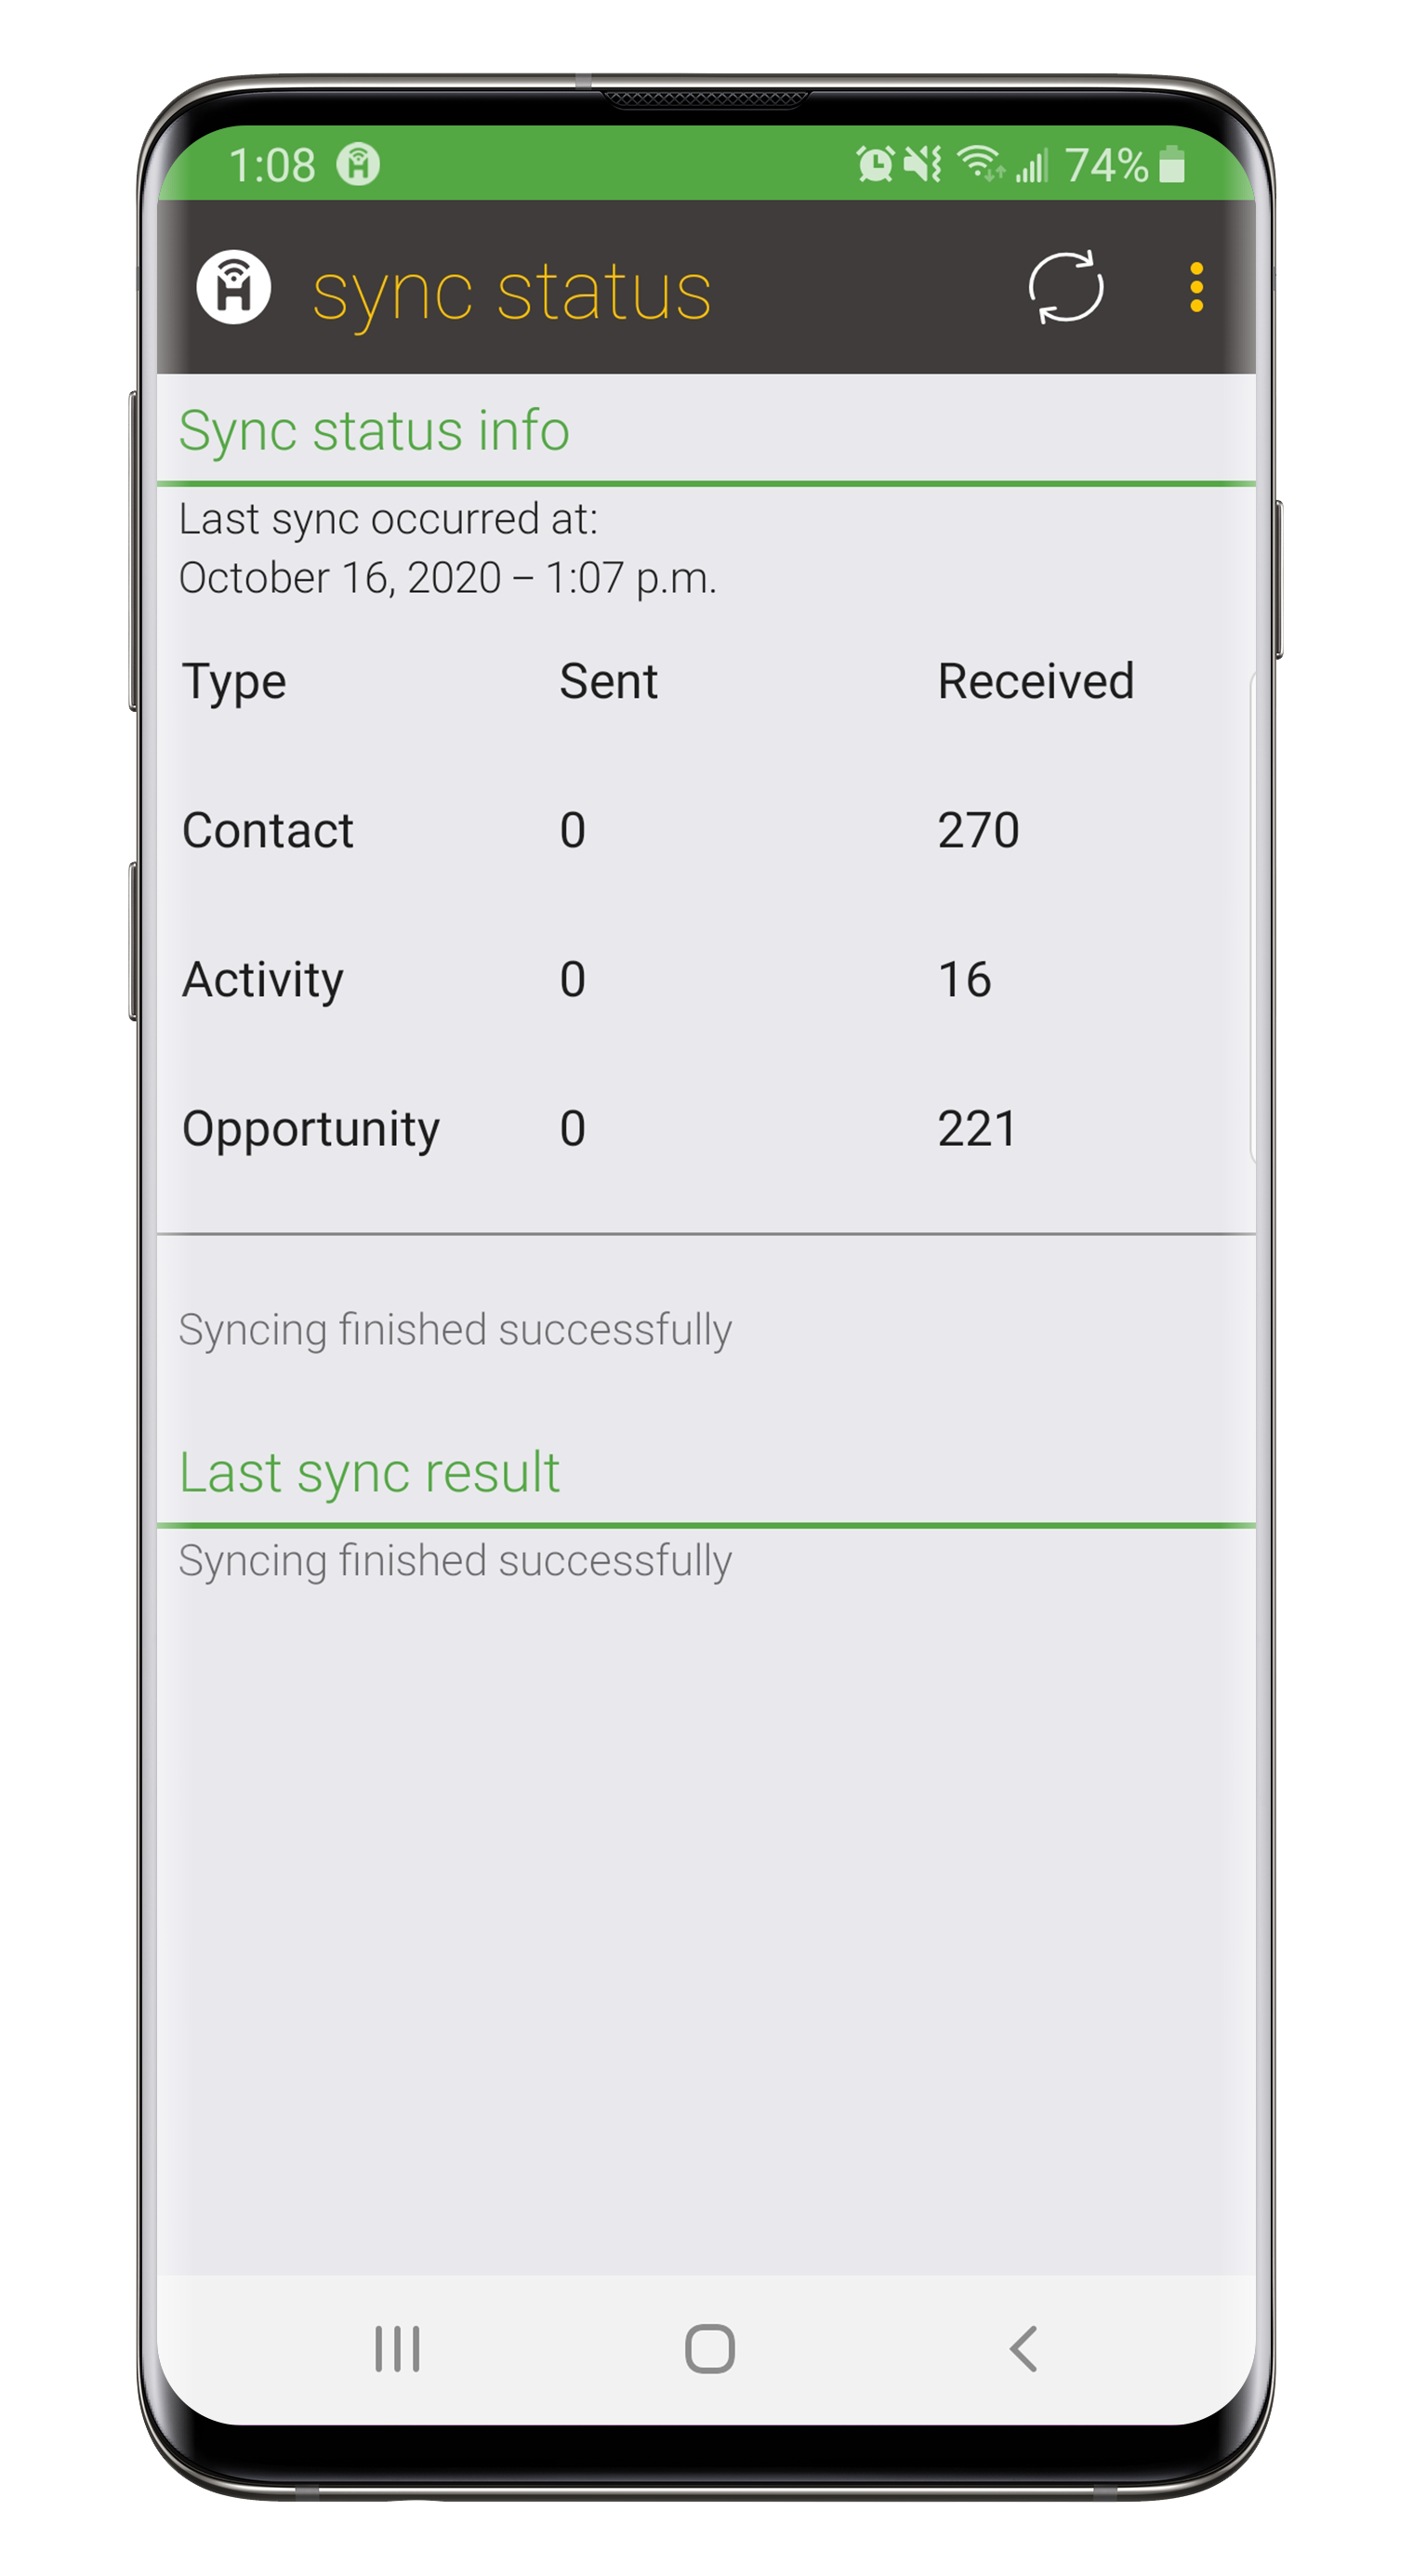
- When the download is completed, press the device’s ‘Back’ button.
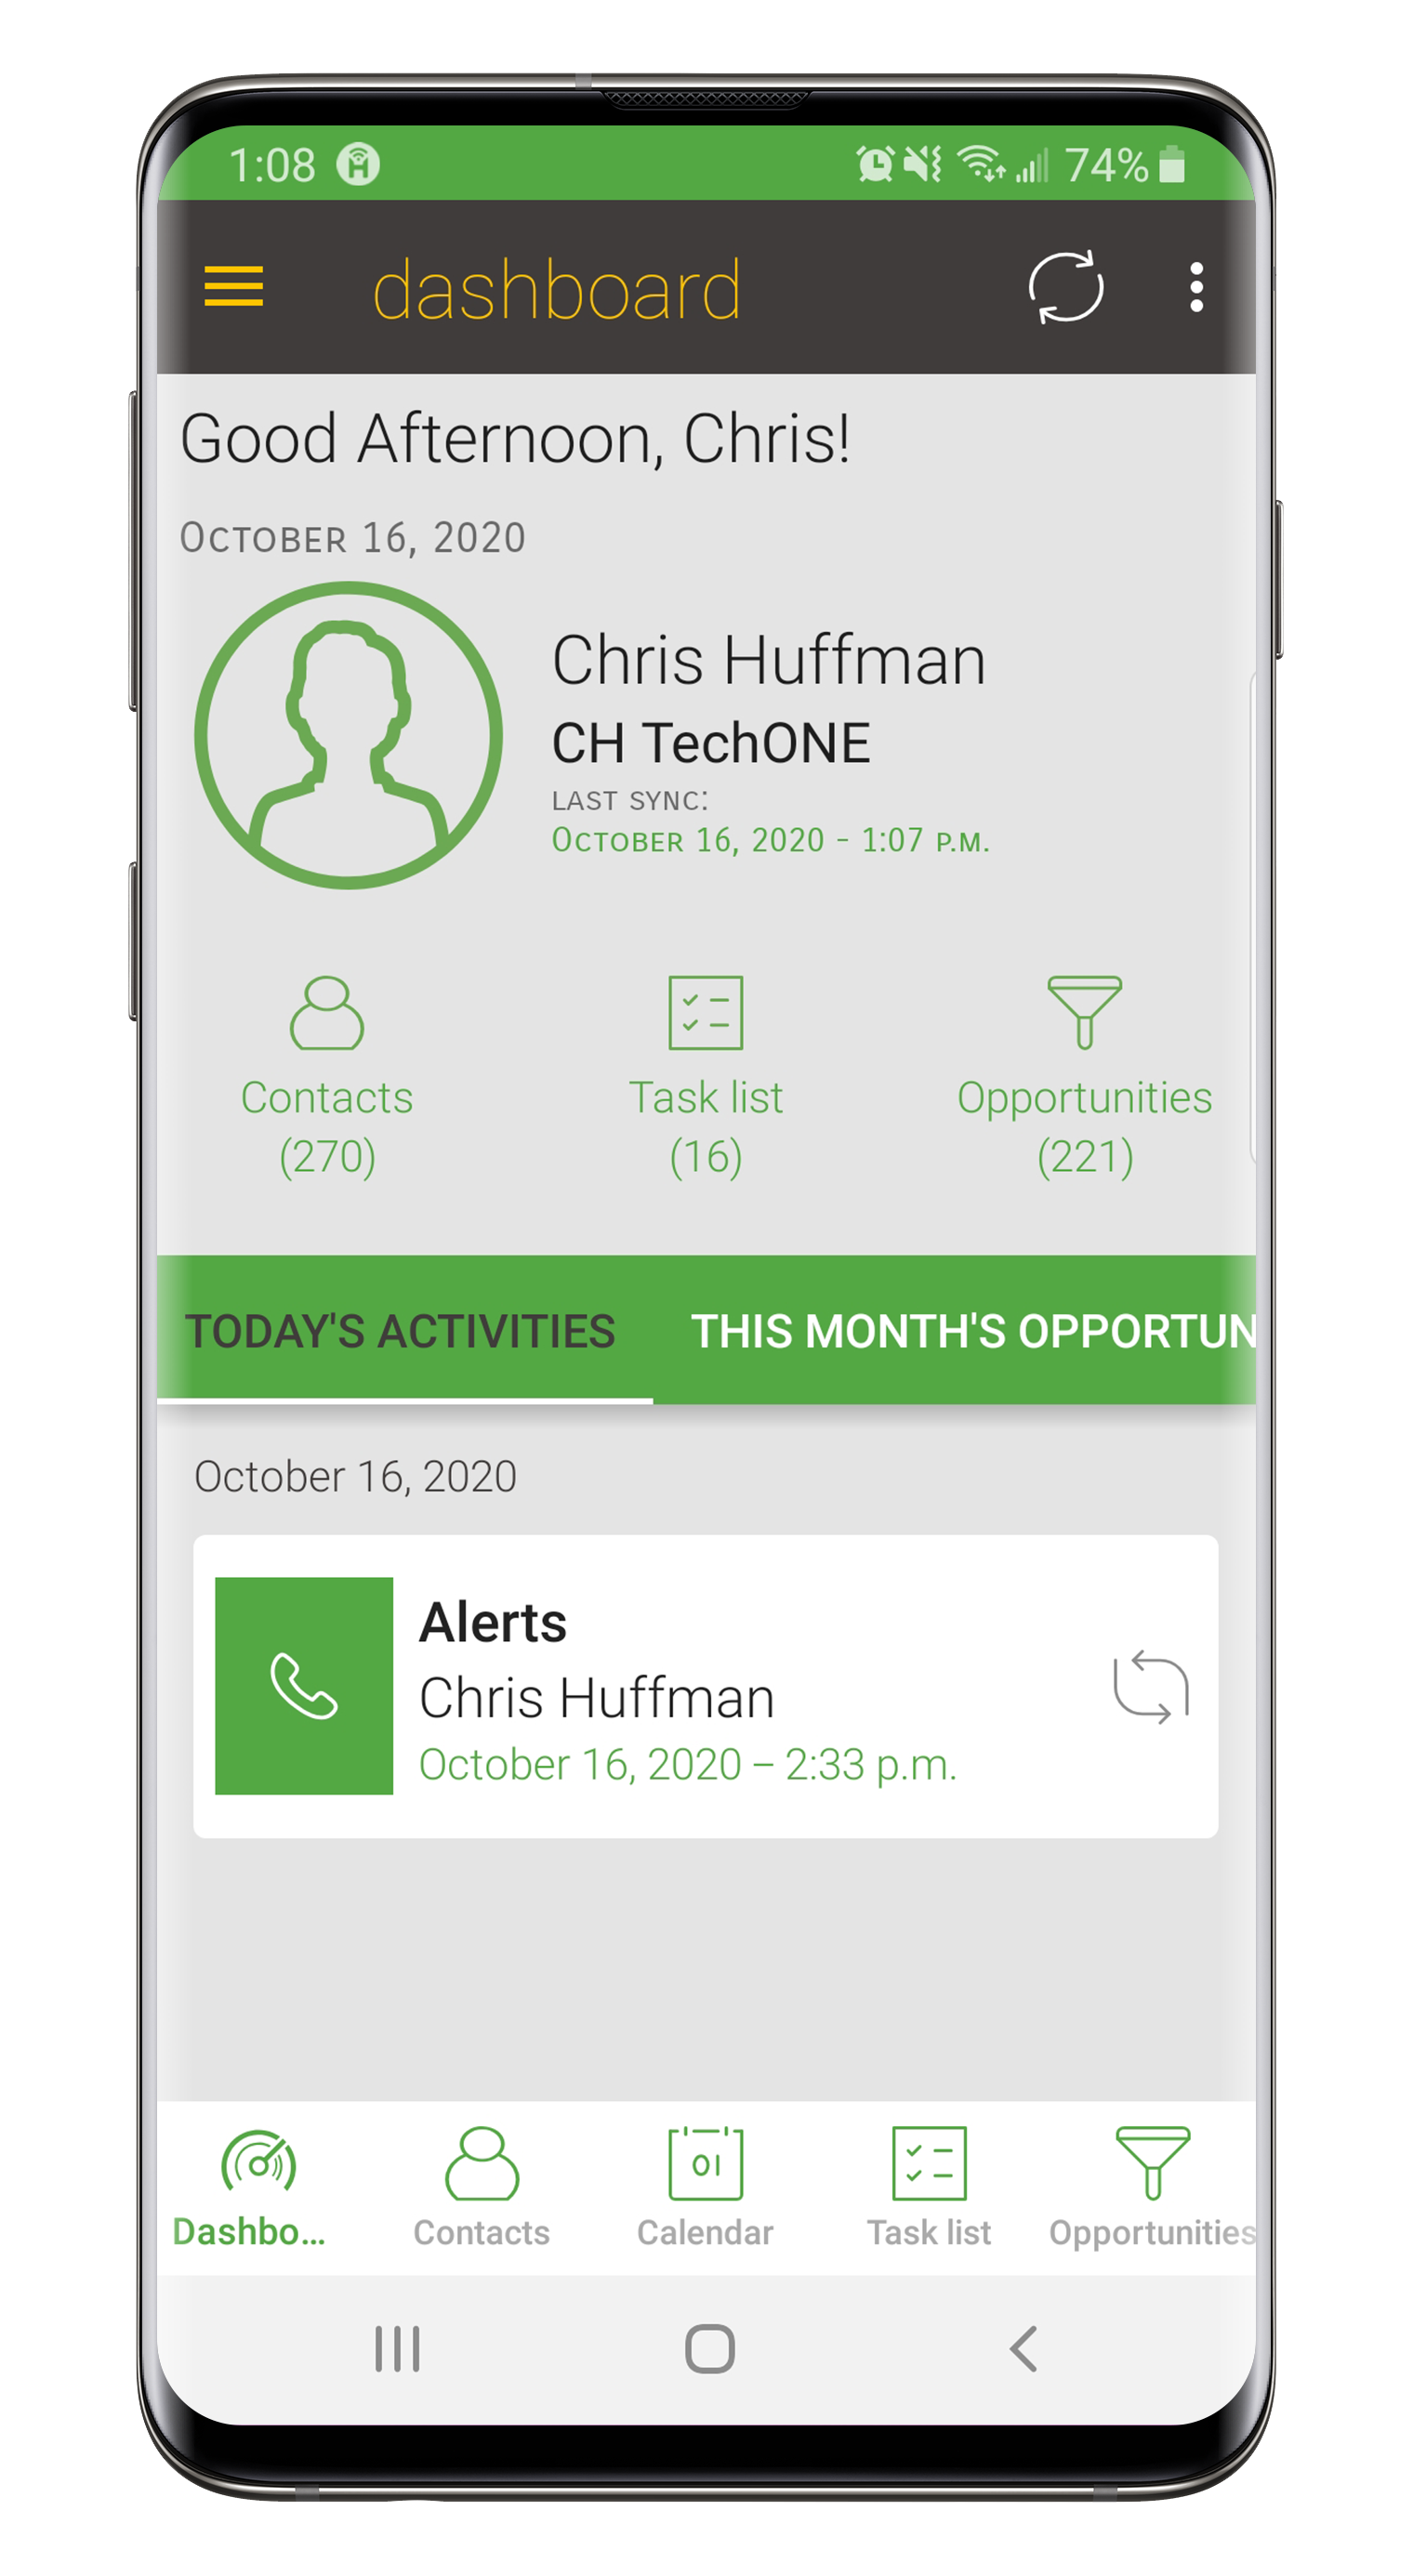
- The Handheld Contact API Dashboard view will be available.